Image data
Still taking screenshots when you want illustrate e.g. what a synapse looks like in the EM? Pymaid can help you with that: Its tiles module lets you download, annotate and save image data from your CATMAID server programmatically.
Note
The pymaid.tiles module is not automatically imported when you import pymaid - it has to be loaded explicitly.
If you want to use it, you will have to install one library first: imageio.
In most cases pip install imageio should do the trick for you.
Loading images
Central to pymaid.tiles module is the pymaid.tiles.TileLoader class. It maps nm to pixel coordinates, downloads and stitches image tiles and renders e.g. nodes on the image. The module is still work in progress and I will add some wrappers around TileLoader to make it a bit easier to use in the future. For now, we will be doing it the hard way:
[1]:
import pymaid
from pymaid import tiles

rm = pymaid.CatmaidInstance('https://www.your.catmaid-server.org' ,
                            api_token='YOURTOKEN',
                            http_user='user', # omit if not required
                            http_password='password' # omit if not required
                           )
[2]:
# Get a neuron
n = pymaid.get_neuron(16)
# Pick a random synapse
center = n.connectors.sample(1).iloc[0][['x', 'y', 'z']].values
center
[2]:
array([379172, 146340, 184240])
We will cut a 5x5um window around that synapse. pymaid.tiles.LoadTiles expects a bounding box to crop: left, right, top, bottom, front and (optionally) back coordinates. In our case we will load only a single slice.
In general, coordinates can be in nanometers (default) or in pixels - see the coords parameter in TileLoader further down.
[3]:
min_co = center - 5000
max_co = center + 5000
bbox = [c for co in zip(min_co[:2], max_co[:2]) for c in co] + [center[2]]
bbox
[3]:
[374172, 384172, 141340, 151340, 184240]
Now we can generate the job - this doesn’t actually do anything other than trying to find the fastest image mirror. You need to provide a stack ID as your server might host more than a single version of the image data (e.g. different resolution or translation). To get the stack ID, click on ‘URL to this view’ in CATMAID: the stack ID will be in the URL as sid0.
[4]:
job = tiles.TileLoader(bbox, stack_id=5, coords='NM')
INFO  : Fastest image mirror: https://flyemdev.mrc-lmb.cam.ac.uk/fafb-tiles/ (pymaid)
INFO  : Estimated memory usage: 75.50 Mb (pymaid)
This starts the job, loads, stitches and crops the required EM image tiles.
[5]:
job.load_in_memory()
The image is saved as array in job.img:
[6]:
job.img.shape
[6]:
(2500, 2500, 1)
Plotting images
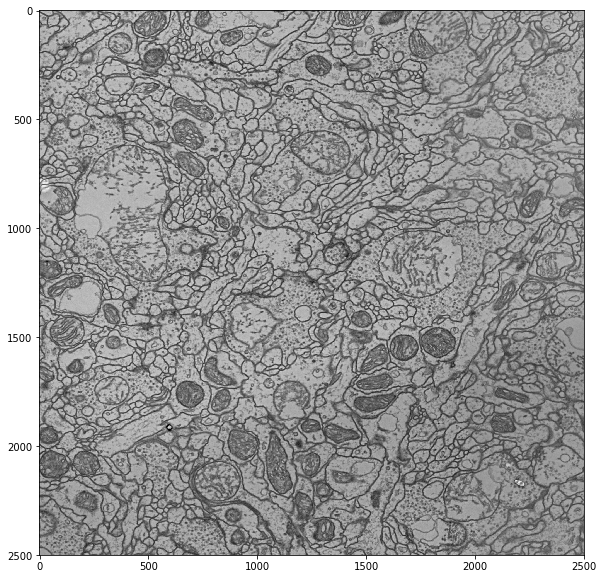
pymaid.tiles.TileLoader comes with a wrapper for matplotlib to plot the image:
[7]:
import matplotlib.pyplot as plt

ax = job.render_im(figsize=(12,12))
plt.show()
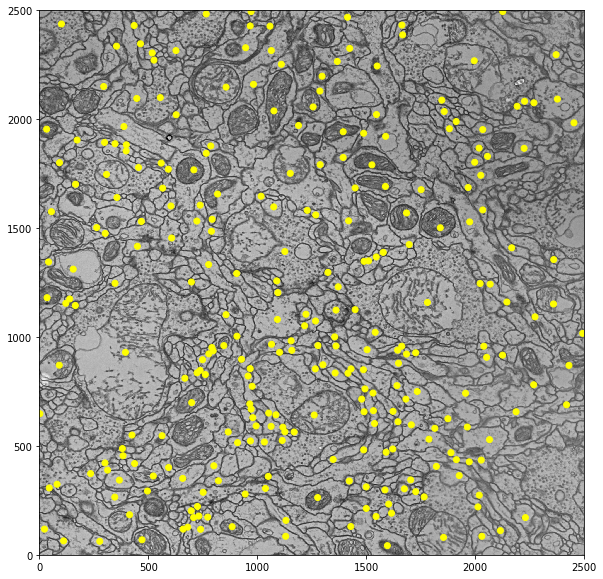
So how do we render nodes on top of this? Fortunately, pymaid.tiles.TileLoader has a function for this as well:
[8]:
# First render the image
ax = job.render_im(figsize=(12,12))

# Now add the nodes
job.render_nodes(ax, treenodes=True, connectors=False)

# Readjust the figure limits
ax.set_xlim(0,2500)
ax.set_ylim(0,2500)

plt.show()
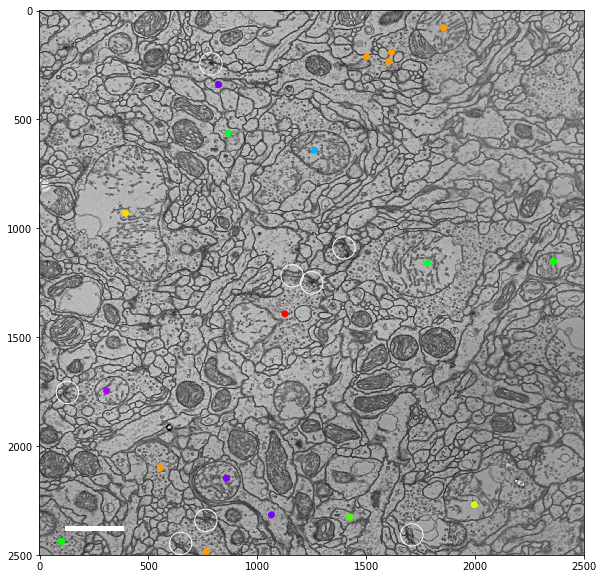
We can do more fancy stuff with rendering nodes. See this example:
[9]:
# Get skeleton IDs of all uPNs
upn = pymaid.get_skids_by_annotation('uPN')

# Generate a random color for each uPN
from colorsys import hsv_to_rgb
cmap = {n: hsv_to_rgb(1/len(upn)*i, 1, 1) for i, n in enumerate(upn)}
INFO  : Looking for Annotation(s): uPN (pymaid)
INFO  : Found 149 skeletons with matching annotation(s) (pymaid)
[10]:
# Render image
ax = job.render_im(slider=False, figsize=(12,12))

# Add treenodes
job.render_nodes(ax,
                 treenodes=True,
                 connectors=True,
                 skid_include=upn, # show only uPNs
                 tn_color=cmap, # apply colormap
                 cn_kws={'s':500, # make connectors larger
                         'edgecolor':'w'} # make connectors white
                )

# Add 1um scalebar
job.scalebar(size=1000, ax=ax, label=False, line_kws={'color':'w', 'lw':5})

# Show
plt.show()
Load & save images
What if you only want to get the image data and save it without rendering? For this case, pymaid.tiles.TileLoader has a function that tries doing this in a memory efficient way : pymaid.tiles.TileLoader.load_and_save().
Let’s say we take our bounding box from above but want to download and save the 10 slices posterior to it. All we have to do is add an according z2 coordinate:
[11]:
# This assumes a 40nm z resolution
z2 = 184240 + 40 * 10
bbox = [374172, 384172, 141340, 151340, 184240, z2]

job = tiles.TileLoader(bbox, stack_id=5, coords='NM')
INFO  : Image mirror: https://flyemdev.mrc-lmb.cam.ac.uk/fafb-tiles/ (pymaid)
INFO  : Estimated memory usage for loading all images: 830.47 Mb (pymaid)
Note how the estimated memory usage is already quite high? Will still work but for larger cutouts, you might run into memory issues if you try loading all at once.
Instead, we can load the stitched images one slice at a time and save them straight way:
[12]:
job.load_and_save(filepath='/Users/philipps/Downloads/slices/')
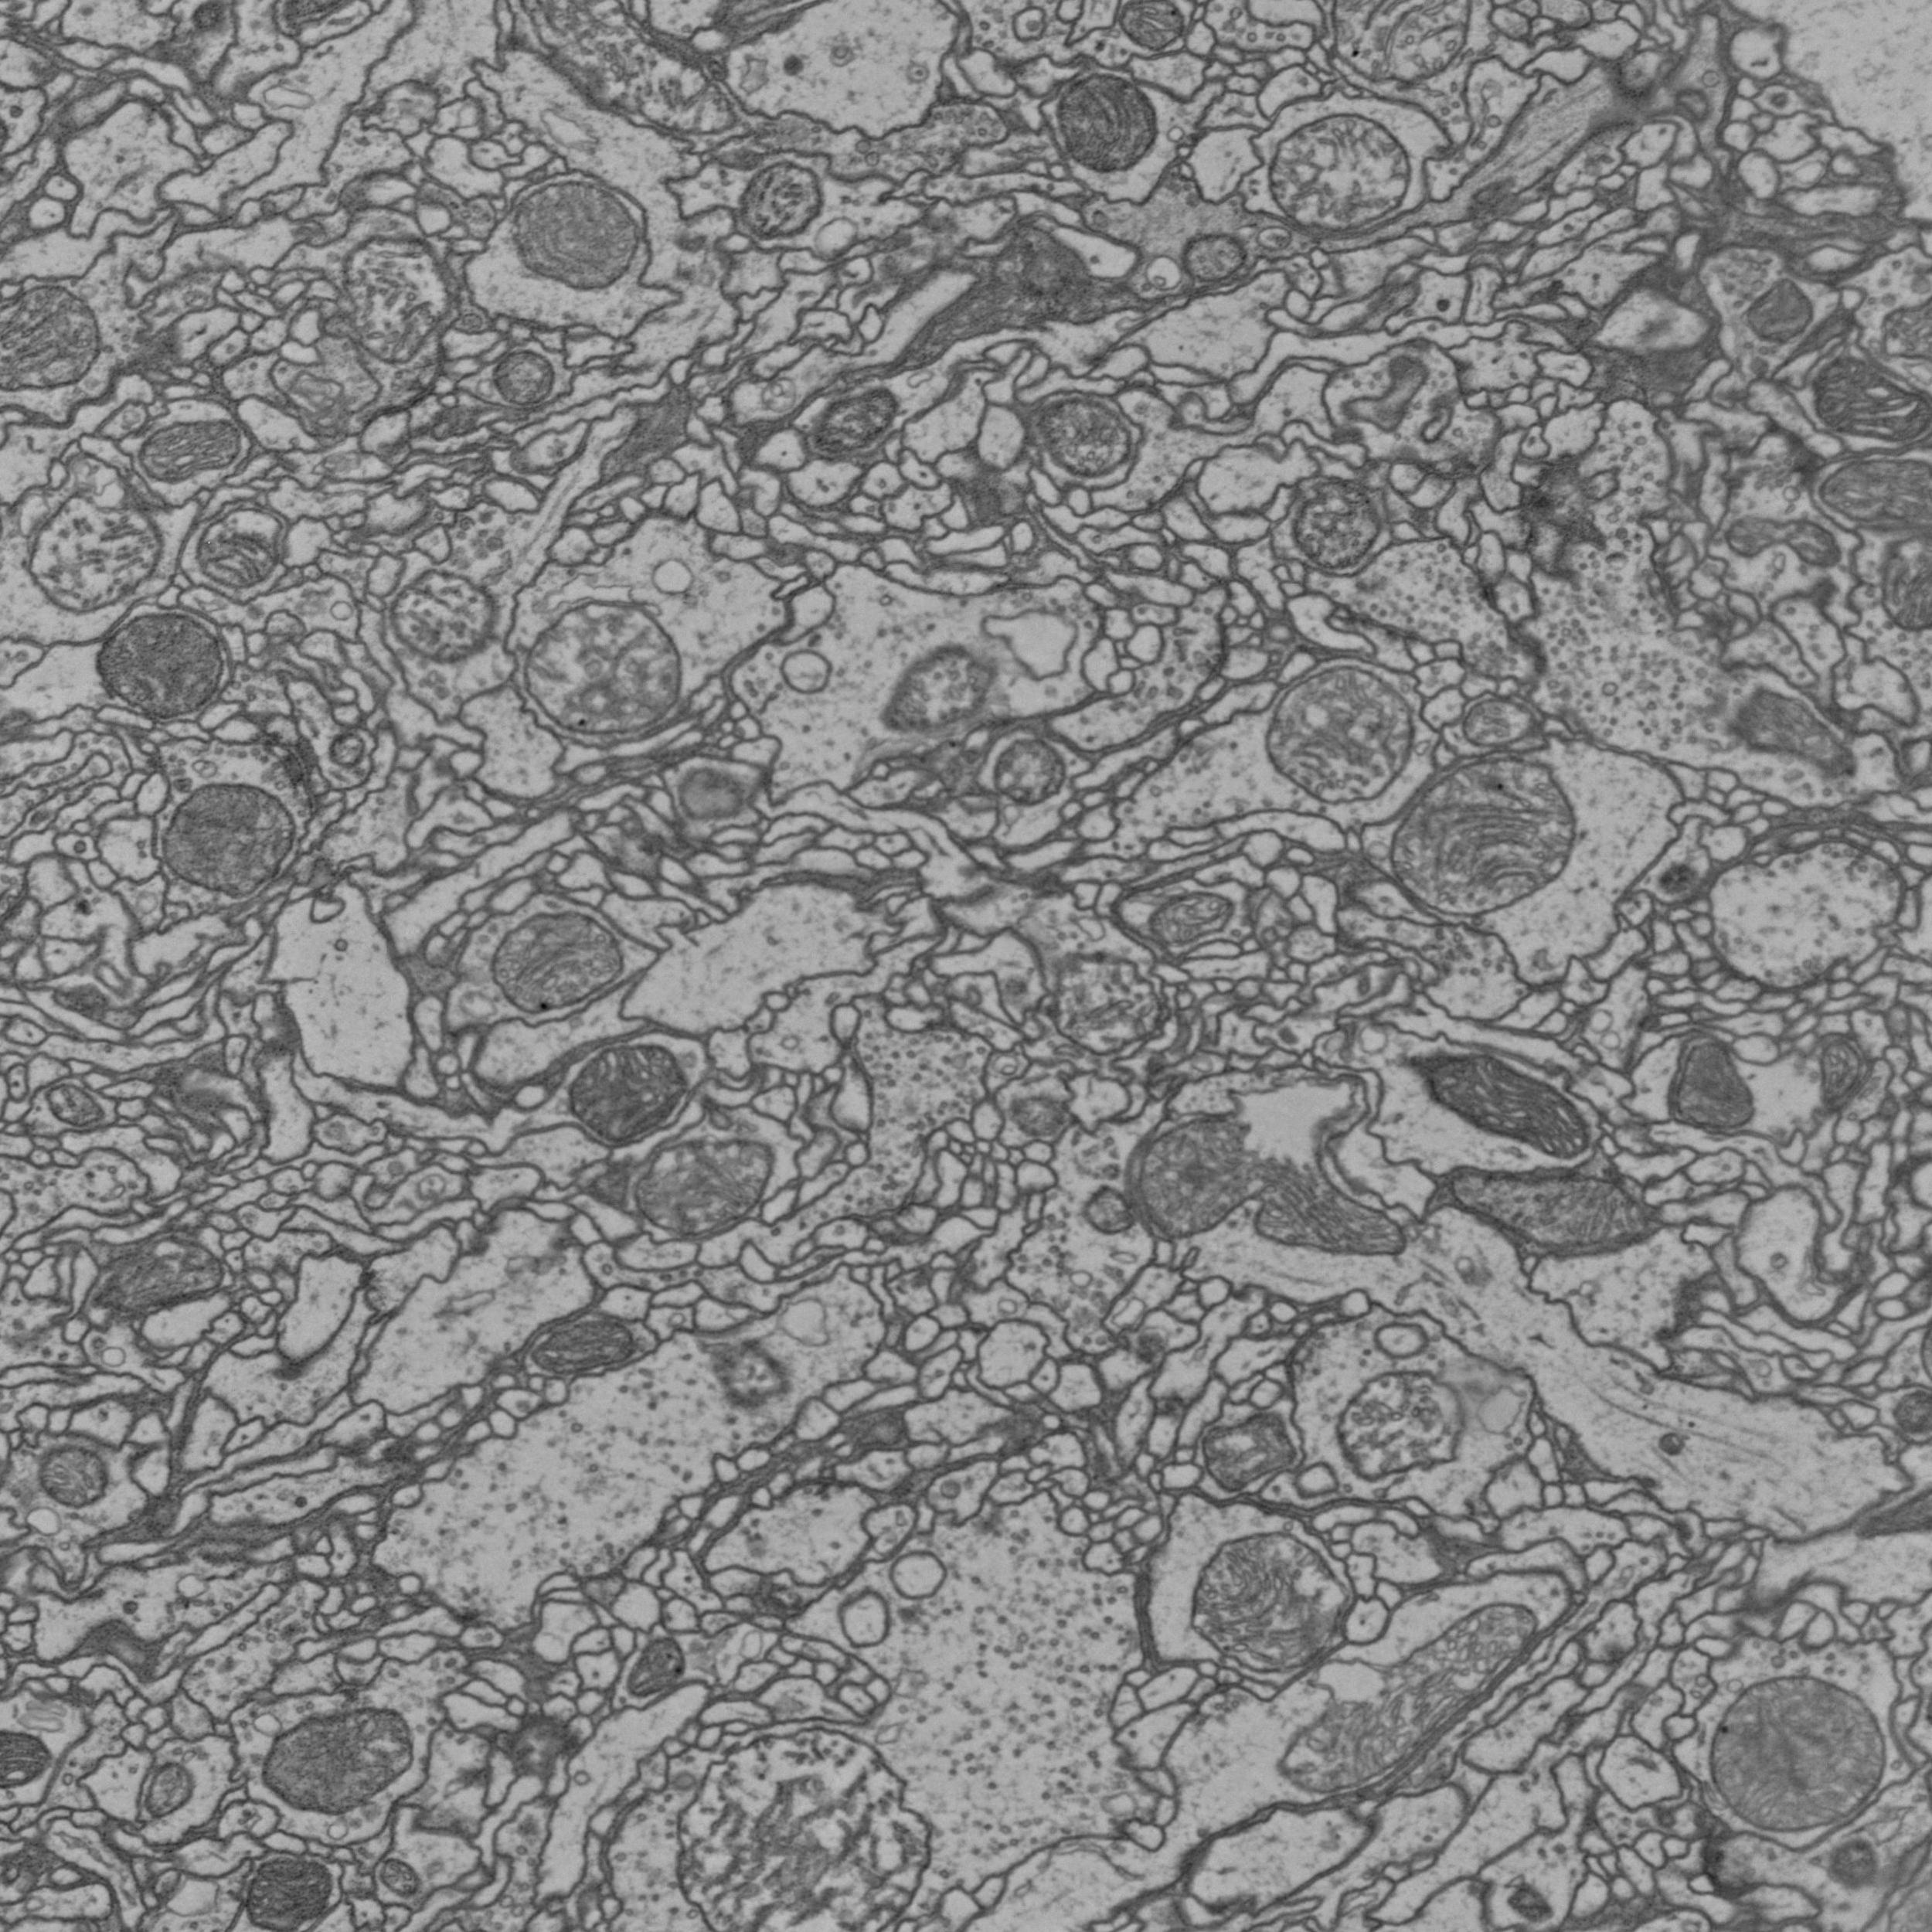
[13]:
from IPython.display import Image
Image(filename='/Users/philipps/Downloads/slices/10.jpg')
[13]: